
4 Steps Guide to Get the Best Helmet FIT


 Step-1 Check The Manufacturer Sizing Chart


You can try the size from size S to XL but it will take longer time. The smarter way is check the size at manufacturer sizing chart. If you size fall between two sizes, take the bigger size. After you got the size, you hereby narrow down the sizing to the size and one size up.

Eg. If you got size M from the sizing chart, you can try size M and L for fitting.

Find out the helmet fit is Long Oval, Intermediate Oval or Round shape head. Normally for Asian is under Round group, you can find the roundness of your head to determine which group are you fall into.


Step-2        Fitting Check-List

 1.  A new helmet should be snug around any part of your head that would be covered by a cap. This area should be about as firm as a tight inner cap, slightly compressed, but not painful or squeezing.

 2.  There should be no pressure points in the cap area where you feel pressure or pinching.

3.  Your cheeks should be tightly compressed. The pressure may feel awkward or slighly uncomfortable but should not be painful. You should not be able to chew gum or speak clearly.

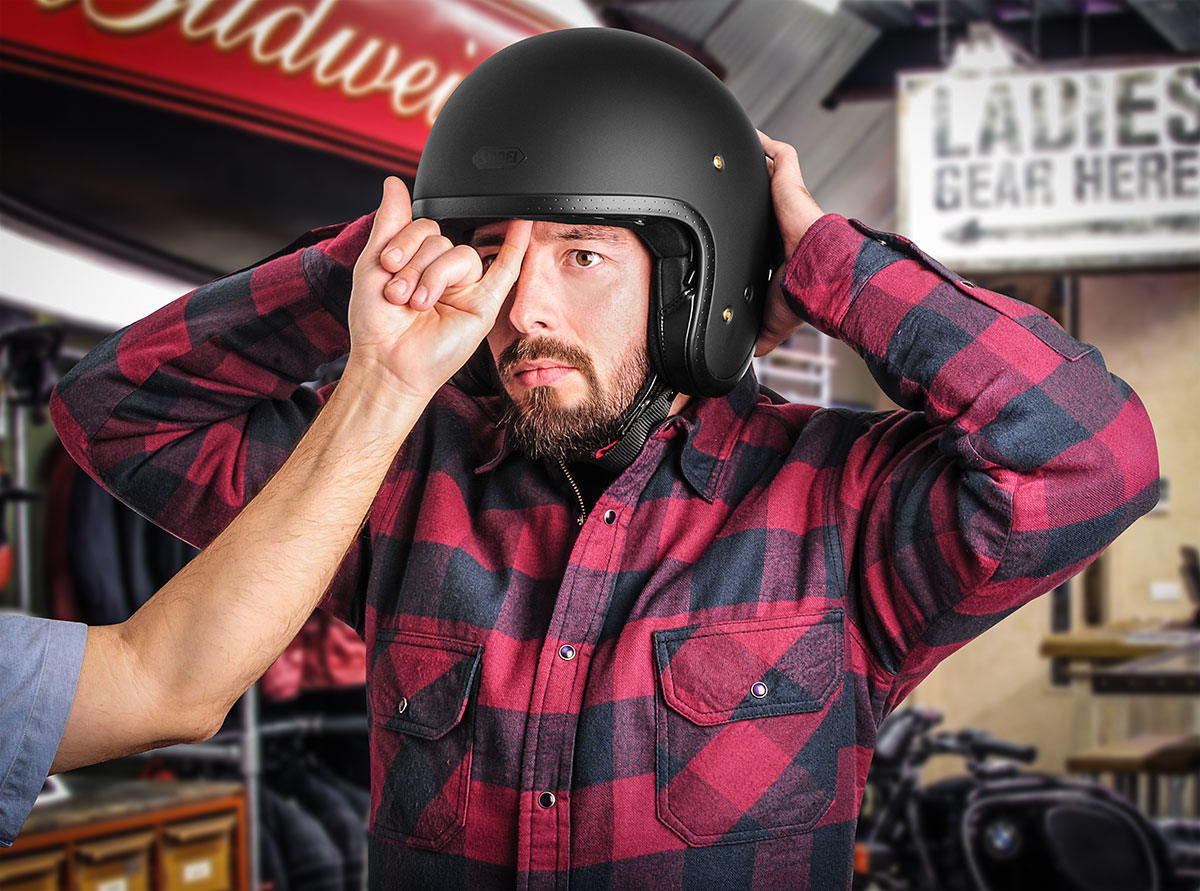
4.  If the helmet causing pain that is focused on your forehead, the helmet shape is too round for you; If the pain is in your temples or side of your head, if you feel pinching in the back of your skull. This helmet is too narrow for you.

5.  If your cheeks are not compressed at all, you need to order thicker cheek pads.

6.  If your cheeks are compressed to the point that you are in pain, remove the cheek pads and squish them under something heavy over several nights. If that did not improve the situation, you need to order thinner cheek pads. 
7. Depend on your riding positions, there should be 1 to 2 finger clearance in between your eyebrow and the helmet top edge.


Step-3          Trying for Longer Time


Test the helmet when you are watching TV or swiping your phone for 30 minutes to detect the pressure points. Normally some pressure points will only appeared when you wear the helmet for longer time.


Step-4          Personal Fitting Service (PFS)


When you are had tried all the above methods and still have gap in between your head and padding, then the Personal Fitting Service (PFS) will come in handy. Some people might have odd shaped head and standard sizing might not fit perfectly. PFS will help in improve grip on centerpad, compression on cheek pads, eliminate pressure points and better vision.


This Content is Sponsored by DC Biker

Check out our website for our full range of products           https://dcbiker.ecwid.com

Or Find Out our latest news at our FB Page                         https://www.facebook.com/dcbikermalaysia

Comments

  1. Your blog provided us with valuable information. Thanks a lot for sharing

    Motorcycle Jackets for Men

    ReplyDelete

Post a Comment

Popular posts from this blog

How To Maintain Your Motorcycle Jacket and Pants Like a Pro

 Maintain a good cleanliness of your motorcycle garments will not only let you looks great, but also improve their longevity and performance, and it will eventually summed up   to a more comfortable ride and long term cost-saving. For Goretex Garment, DWR (Durable Water Repellent) is a external coating on the garment that able to beads water like car cystal coating.   Regular cleaning and reactivation of DWR will also prevent the garment become heavy when soaked with rainwater and breathability being paralyzed, making your Goretex Garment like cheap rain suit.  Bear in mind , manufacturer will also require the user to maintain the gear for honoring the lifetime waterproof warranty claim if any.    Textile Garments Cleaning 1.        Read manufacturer label inside the jacket/pants   for special instructions. 2.        Remove all amours (shoulder, elbow, back,...

10 Tips to CLEAN Your Motorcycle and Kits

For your KIT Fly away: The best way to remove swarms of dead flies stuck to your helmet, leathers  and visor is to soak some kitchen towel in water and leave it on for about 10  minutes. This loosens the tiny, twisted little corpses and they will wipe off  with minimal fuss. Alternatively, you can remove them using multi purpose cleaning liquid, eg. Muc Off Rescue Kit, especially for visor, which you need to ensure it is polycarbonate friendly to prevent undesirable chemical effect. Two in a bath: Clean your filthy, stinky helmet by giving it a bath. This is the easiest way  of renovating a previously horrible lid and it works wonders. Run a bath so it’s  about one foot deep with lukewarm water, submerge your helmet and go make a cup  of tea. On your return use a pH neutral baby shampoo to really work a lather  into the helmet’s liner. You’ll be horrified at the black scrunge and creatures  of the deep that come out. Clean...